


We’ve been sharing candle making tutorials on this blog for almost a decade, so we wanted to put together a beginner’s guide to candle making with all our best tips and tricks, plus links to past projects you can try.
To make candles, you’ll need a few basic supplies, including a stovetop and a similar tool to melt wax.
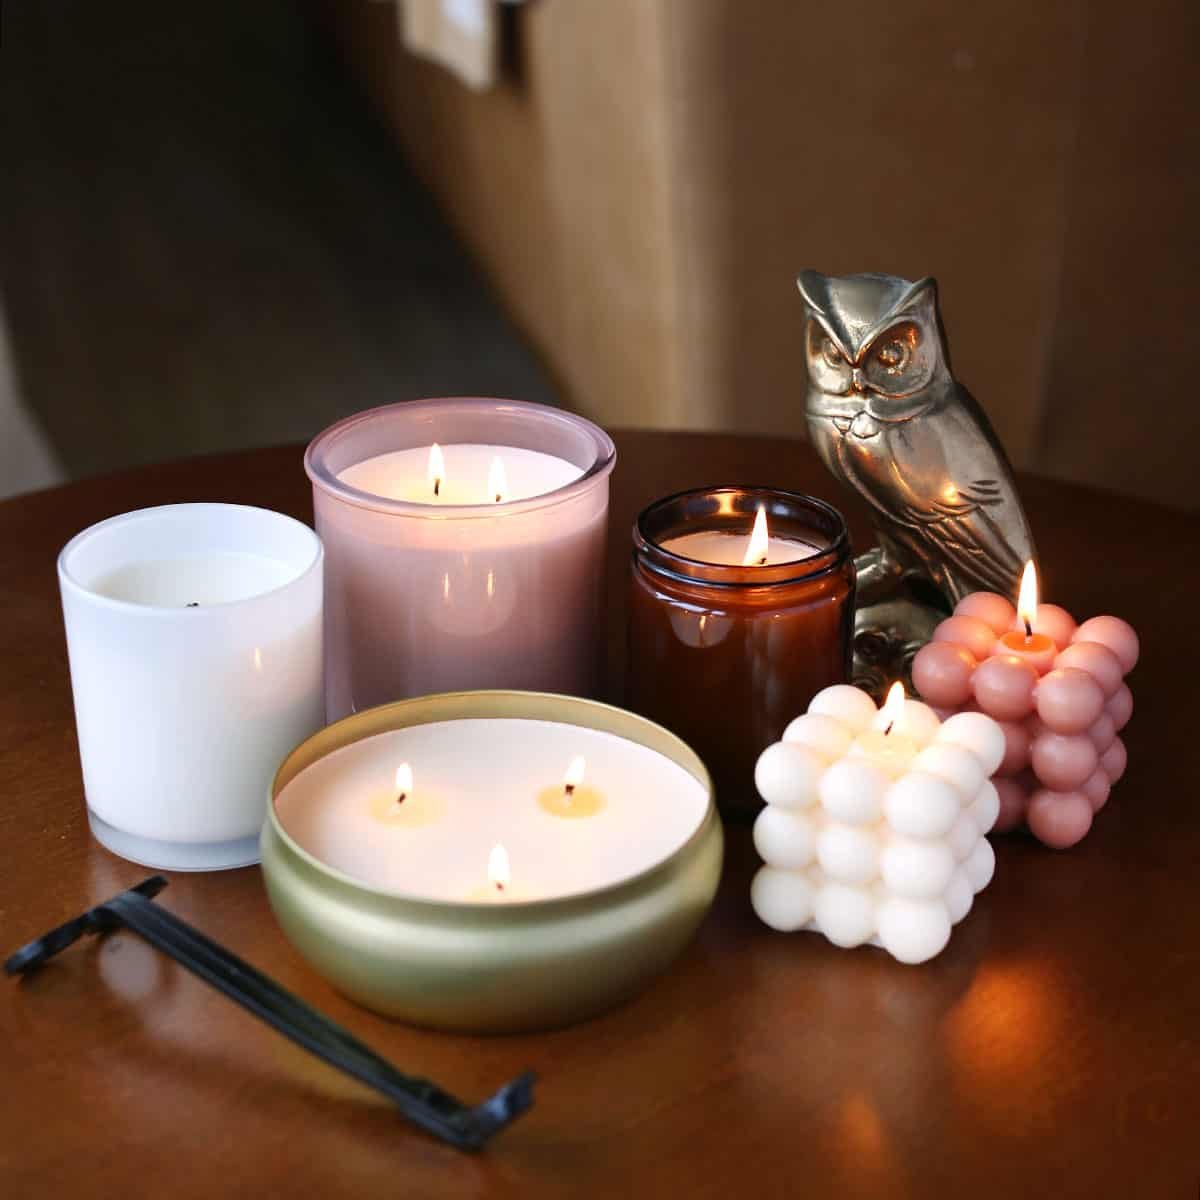
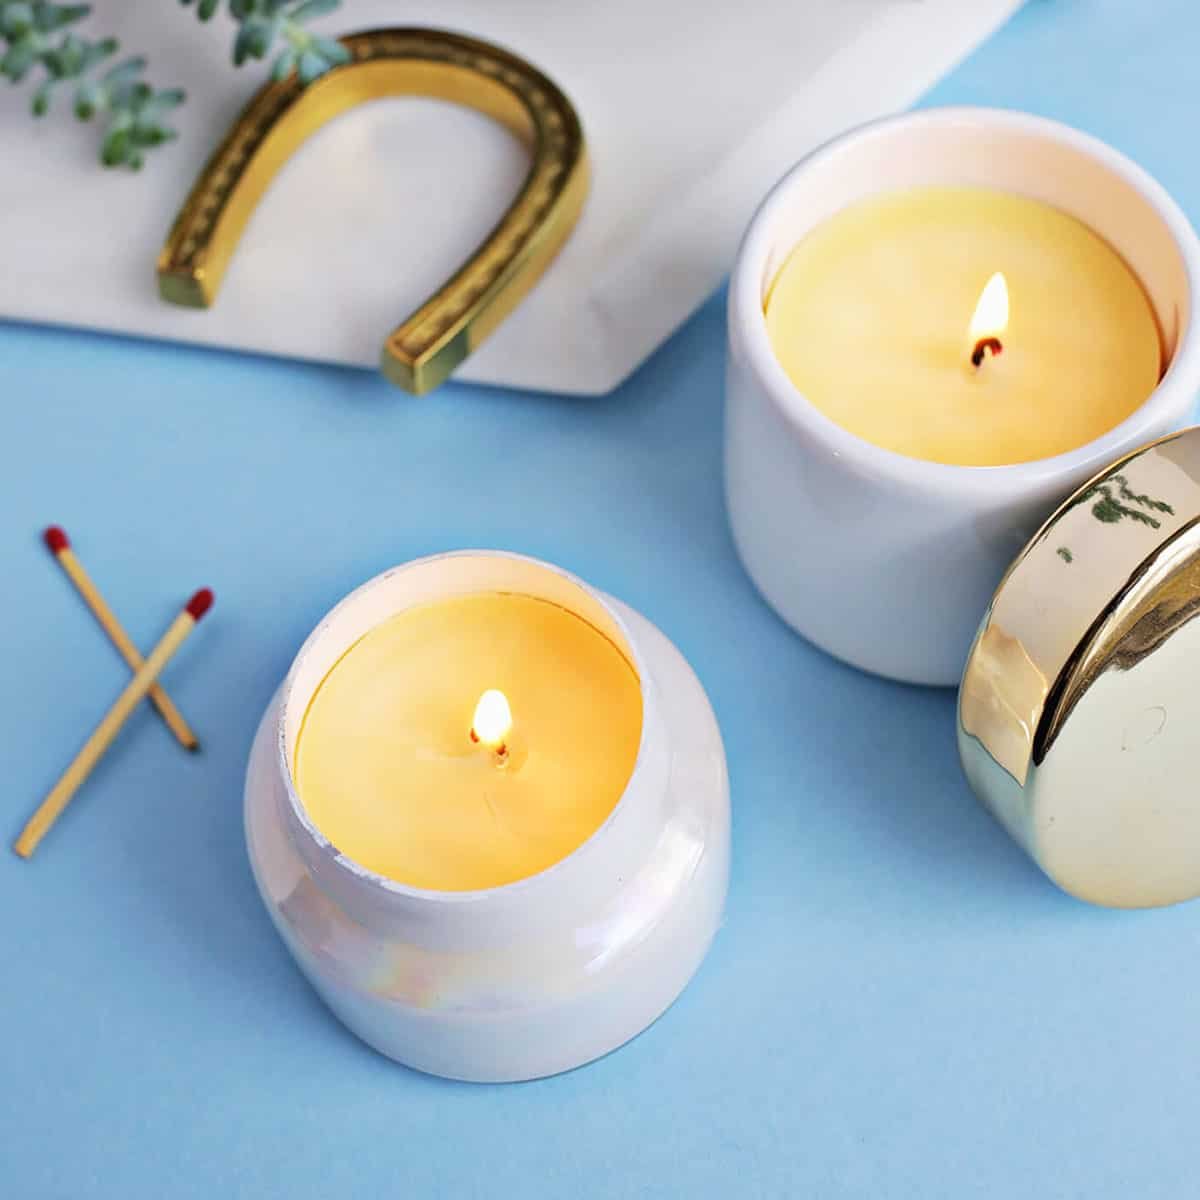
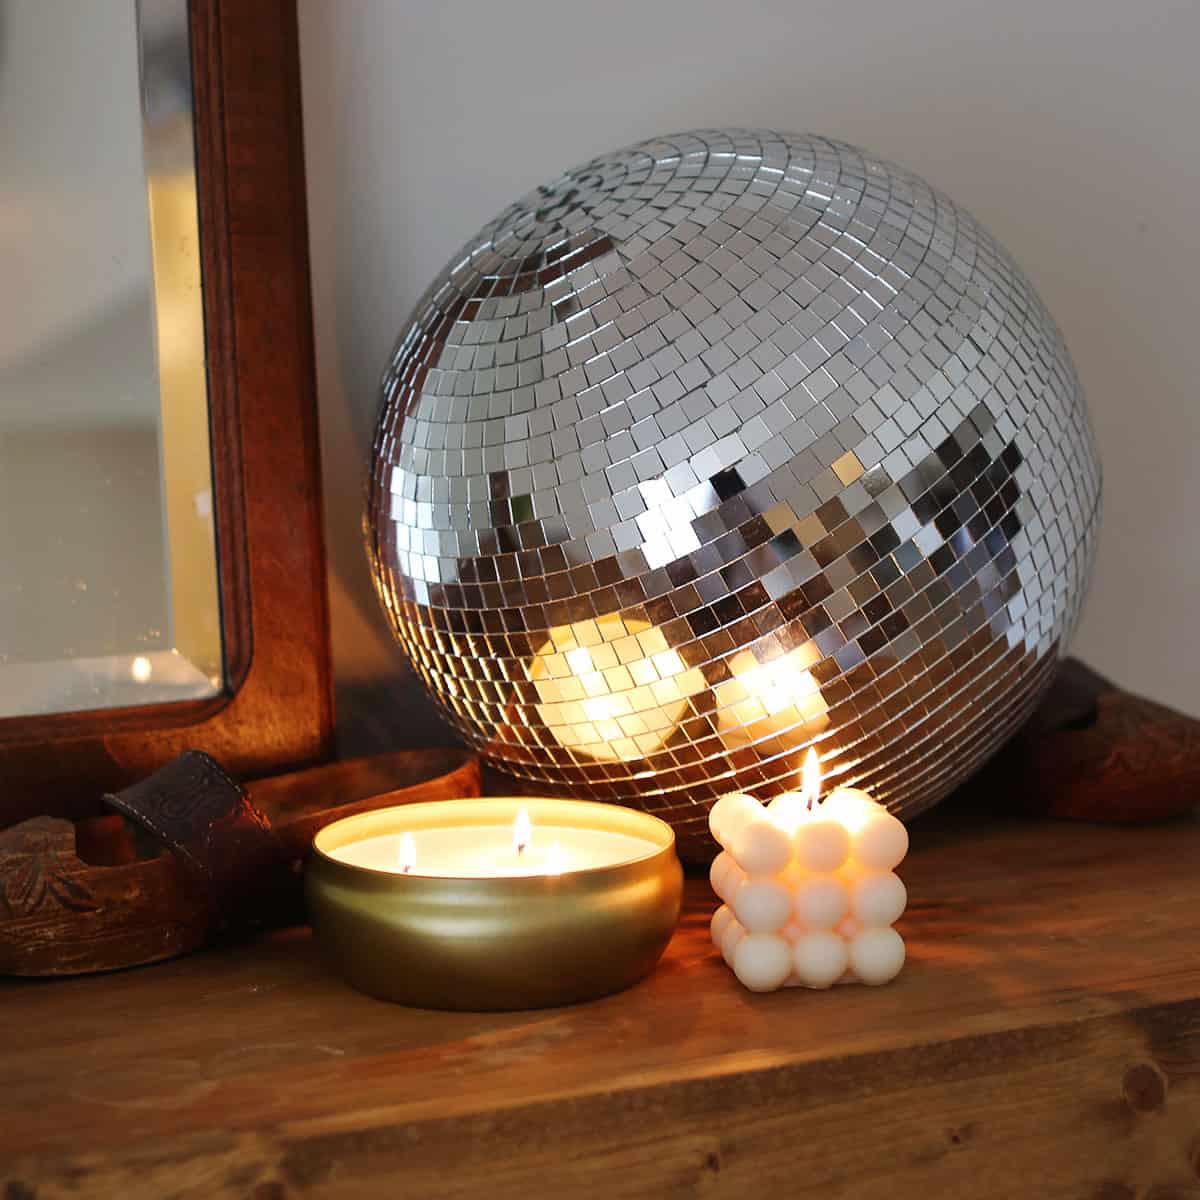
I love making candles for myself because I almost always have one burning in my kitchen every evening. I also love giving homemade candles as gifts.
DIY candles make great housewarming gifts, wedding gifts, birthdays, Mother’s Day, and holiday gifts. Or at least I think so because I love candles!
Candle Making Supplies – The Basics
How to Make Candles – The Basics
- Measure out the wax. The easiest way is to fill the container that will be the candle with wax pellets. Then, use a kitchen scale to check the weight to find out how much scented oil to use.
- Add wax to the furnace.
- Add enough water to the larger pot to cover the furnace at least halfway.
- Place the water and melting pot in a large pot and heat over medium heat. This is essentially a double boiler that can be used to melt chocolate. You can melt the wax directly in the furnace, but using a double boiler will keep the wax from overheating.
- Heat the wax to 185°F. Use a thermometer to check.
- Stir the fragrance oil until well mixed.
- Remove from heat and allow to cool to 125°F before pouring in wax mixture.
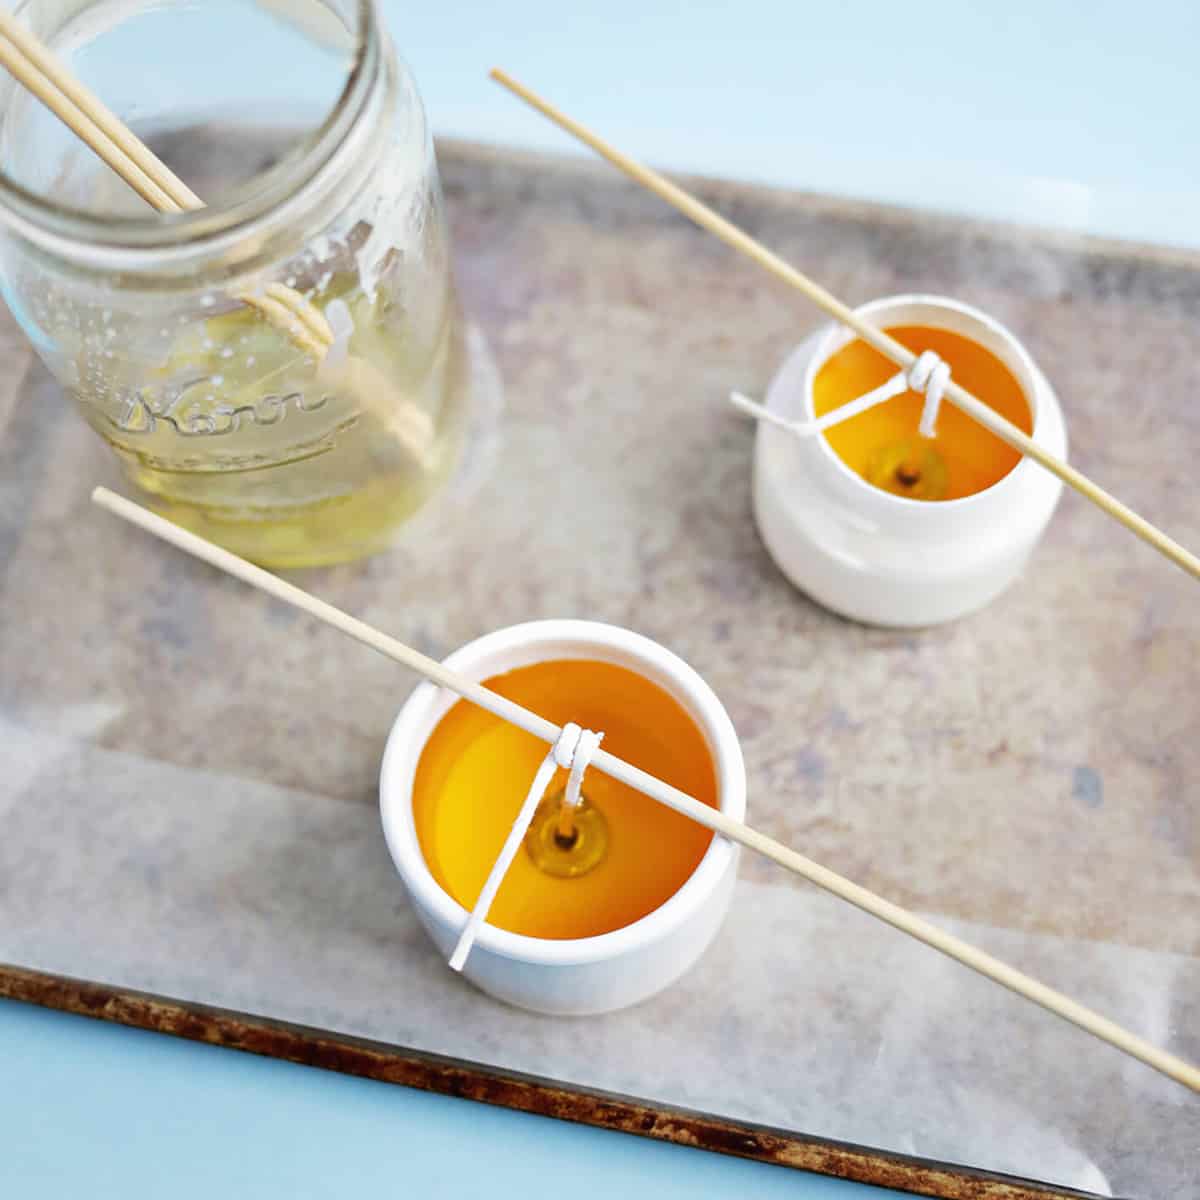
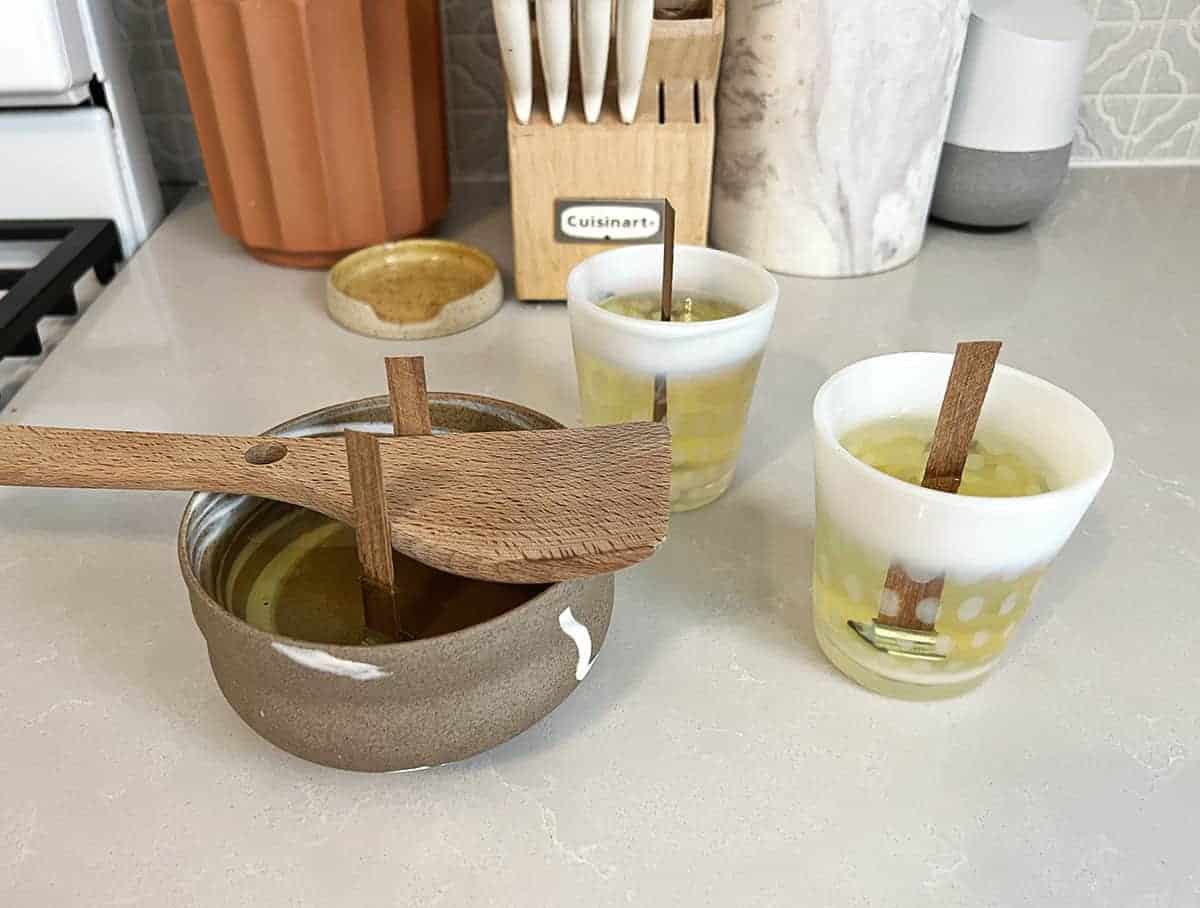
- While the wax is melting (or cooling), place the wick into the container. Using a wick sticker or hot glue, attach the metal base of the wick to the bottom center of the container. Then, use a clothespin or stick to wrap around the top of the wick to keep it centered after you pour the wax.
- Pour the wax into the container. If the wick moves around, secure it while the wax is still hot and liquid.
- Once your candle has hardened, trim the wick and you are ready to use!
Types of wax and wick
There are other types of wax and wicks in addition to those listed above, but these are ones that beginners will want to use.
What is a scent throw?
Throwing a scent is exactly what it sounds like. This is the radius through which the scent reaches as the candle burns. Four factors affect scent release:
- Types of Wax
- thickness of the wick
- Amount of perfume used
- Temperature of wax when fragrance oil is added
You may want to use different types of wax for cost or health reasons, but generally speaking, the hotter the melting point of the wax, the less scent it will have.
As far as fragrance oil To add, you might think that adding more will always give you a bigger scent. That’s not true. Adding too much oil can weigh down the wax.
In general, you should aim for 1 ounce of fragrance oil per pound of wax. This is why you can best calculate how much balm to use by measuring how much wax will fit in your container and then using a kitchen scale.
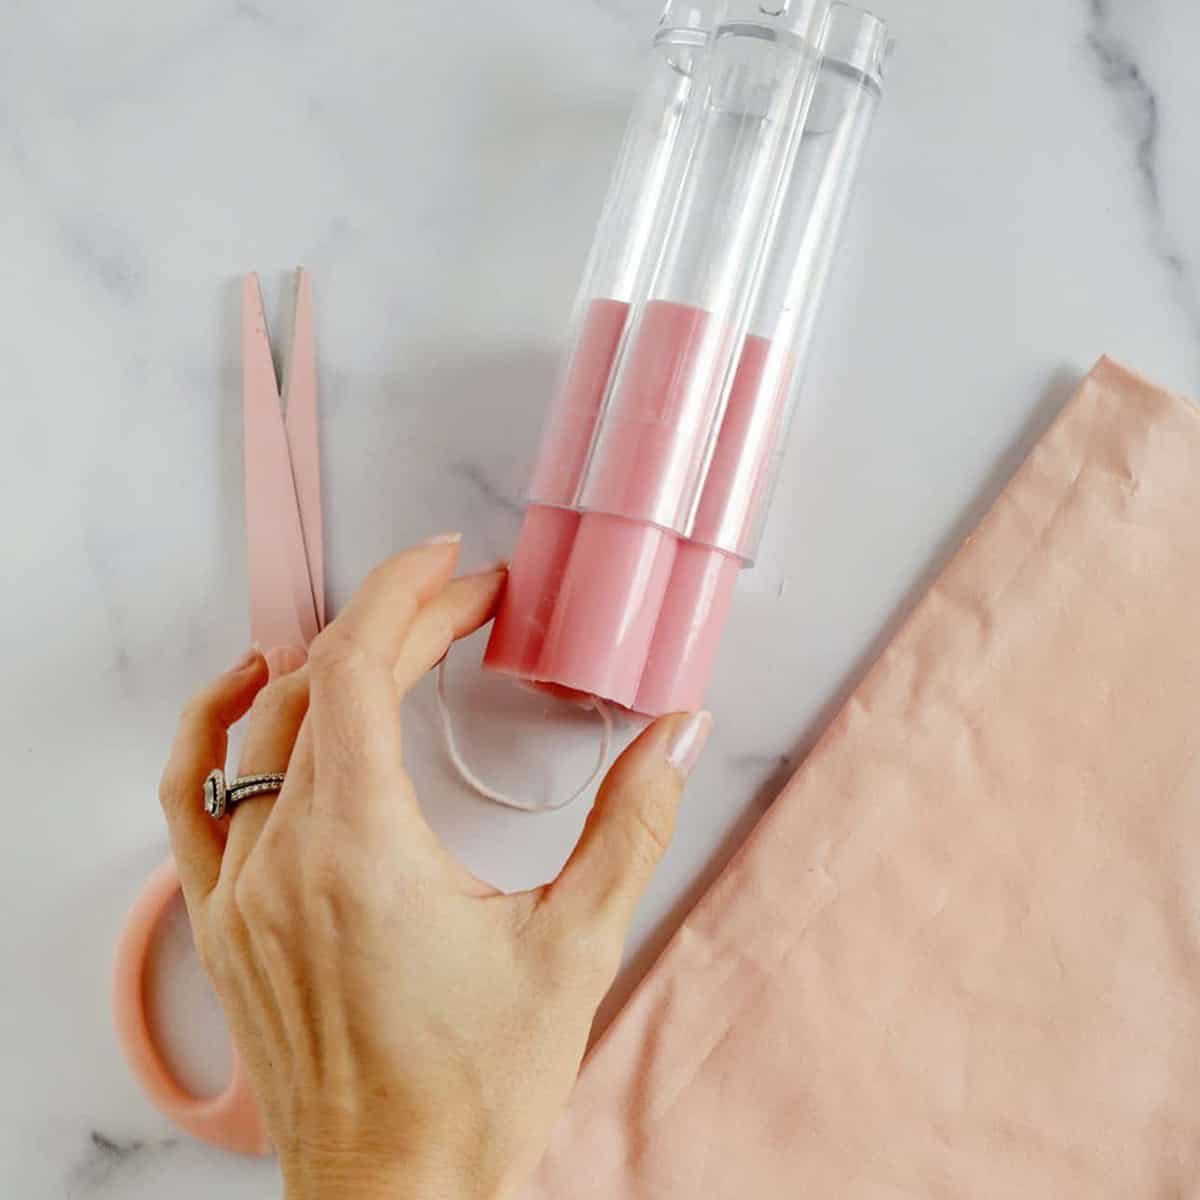
How to Make Molded Candles
Making candles in molds is a little different because it doesn’t require any containers. If you take care of your mold, you can reuse it over and over again. Check out this tutorial on DIY flower column candles for step-by-step instructions and tips for success.
Here are some cute molds:
Where to buy containers:
Like this post? Sign up for our newsletter for more ideas!

Get creative ideas for recipes, crafts, decorations, and more right in your inbox!

Learn how
Step-by-step tutorial on how to make candles at home
guideline
-
Measure out the wax. The easiest way is to fill the container that will be the candle with wax pellets. Then, use a kitchen scale to check the weight to find out how much scented oil to use.
-
Add wax to the furnace.
-
Add enough water to the larger pot to cover the furnace at least halfway.
-
Place the water and melting pot in a large pot and heat over medium heat. This is essentially a double boiler that can be used to melt chocolate. You can melt the wax directly in the furnace, but using a double boiler will keep the wax from overheating.
-
Heat the wax to 185°F. Use a thermometer to check.
-
Stir the fragrance oil until well mixed.
-
Remove from heat and allow to cool to 125°F before pouring in wax mixture.
-
While the wax is melting (or cooling), place the wick into the container. Using a wick sticker or hot glue, attach the metal base of the wick to the bottom center of the container. Then, use a clothespin or stick to wrap around the top of the wick to keep it centered after you pour the wax.
-
Pour the wax into the container. If the wick moves around, secure it while the wax is still hot and liquid.
-
Once your candle has hardened, trim the wick and you are ready to use!


